Game of Life in Swift Playgrounds - Part 3

If you haven't already, you'll want to check out part 2 before continuing with this chapter.
Game Rules
We now have cells populating the world, but they’re currently frozen in time. They’re born, but then nothing happens. We’ll need a way to step the world forward and apply the game rules.
Go back to World.swift and create a new function called updateCells(). Inside this function, we’ll create a new temporary array that will hold our updated cells, along with an array of live cells.
var updatedCells = [Cell]()
let liveCells = cells.filter { $0.state == .alive }

for cell in cells {

}

cells = updatedCells
We’ll be using liveCells to find the living neighbors of each cell in the loop. Filtering out dead cells early on means that we don’t have to waste resources looping over them.
So inside the for loop, we’ll grab the living neighbors using the function on Cell that we wrote earlier.
let livingNeighbors = liveCells.filter { $0.isNeighbor(to: cell) }Then we’re going to add a switch statement. This is where we’ll apply our rules. The simplest way is to break up them up into three steps, even though there are four rules. Here they are again.
- Any live cell with fewer than two live neighbors will die.
- Any live cell with two or three live neighbors will live on to the next generation.
- Any live cell with more than three live neighbors will die.
- Any dead cell with exactly three live neighbors will become a live cell.
So if the cell is alive, and its number of live neighbors is two or three, it lives on otherwise it dies. So let’s do that first, still inside the for loop.
switch livingNeighbors.count {
case 2...3 where cell.state == .alive:
    updatedCells.append(cell)
}
Here we’re switching on the number of live neighbors. We could also perform a switch on the state of the cell, but I wanted to show you another little trick that we can do with number ranges.
Since the cell is already alive, we’ll append it, as is, to the updatedCellsarray.
Next, we want to handle the fourth rule. If the cell is dead and has three live neighbors, it becomes alive.
case 3 where cell.state == .dead:
    let liveCell = Cell(x: cell.x, y: cell.y, state: .alive)
    updatedCells.append(liveCell)
We’ll use the same coordinates as the current cell and set its state to .alive.
For every other case that these two don’t cover, we want to append a dead cell to the updatedCells array. To do that, we add a default case.
default:
    let deadCell = Cell(x: cell.x, y: cell.y, state: .dead)
    updatedCells.append(deadCell)
The switch statement is now complete.
switch livingNeighbors.count {
case 2...3 where cell.state == .alive:
    updatedCells.append(cell)
case 3 where cell.state == .dead:
    let liveCell = Cell(x: cell.x, y: cell.y, state: .alive)
    updatedCells.append(liveCell)
default:
    let deadCell = Cell(x: cell.x, y: cell.y, state: .dead)
    updatedCells.append(deadCell)
}
I bet you didn’t think it was going to be this simple. Before we can test it though, we’ll need to make a slight change to the WorldView.swift file. We don’t have anything triggering the updateCells function yet, so we’ll need to fix that up first.
Touch Gestures
Since we’re using UIKit in our playgrounds, all interactions with the live view are touch-based — even if we’re using a mouse. At the bottom of the WorldView class, we need to override touchesBegan to capture a touch event sent to the live view so we can run our updateCells function.
public override func touchesBegan(_ touches: Set<UITouch>, with event: UIEvent?) {
    world.updateCells()
    setNeedsDisplay()
}
Calling updateCells() will apply all of our game rules. Following that with setNeedsDisplay() tells our view that it needs to redraw its contents, which in turn calls draw(rect:). Now its ready to test.
Game of Life
Go back to the main playground file, and make sure you have the live view open in the assistant editor.
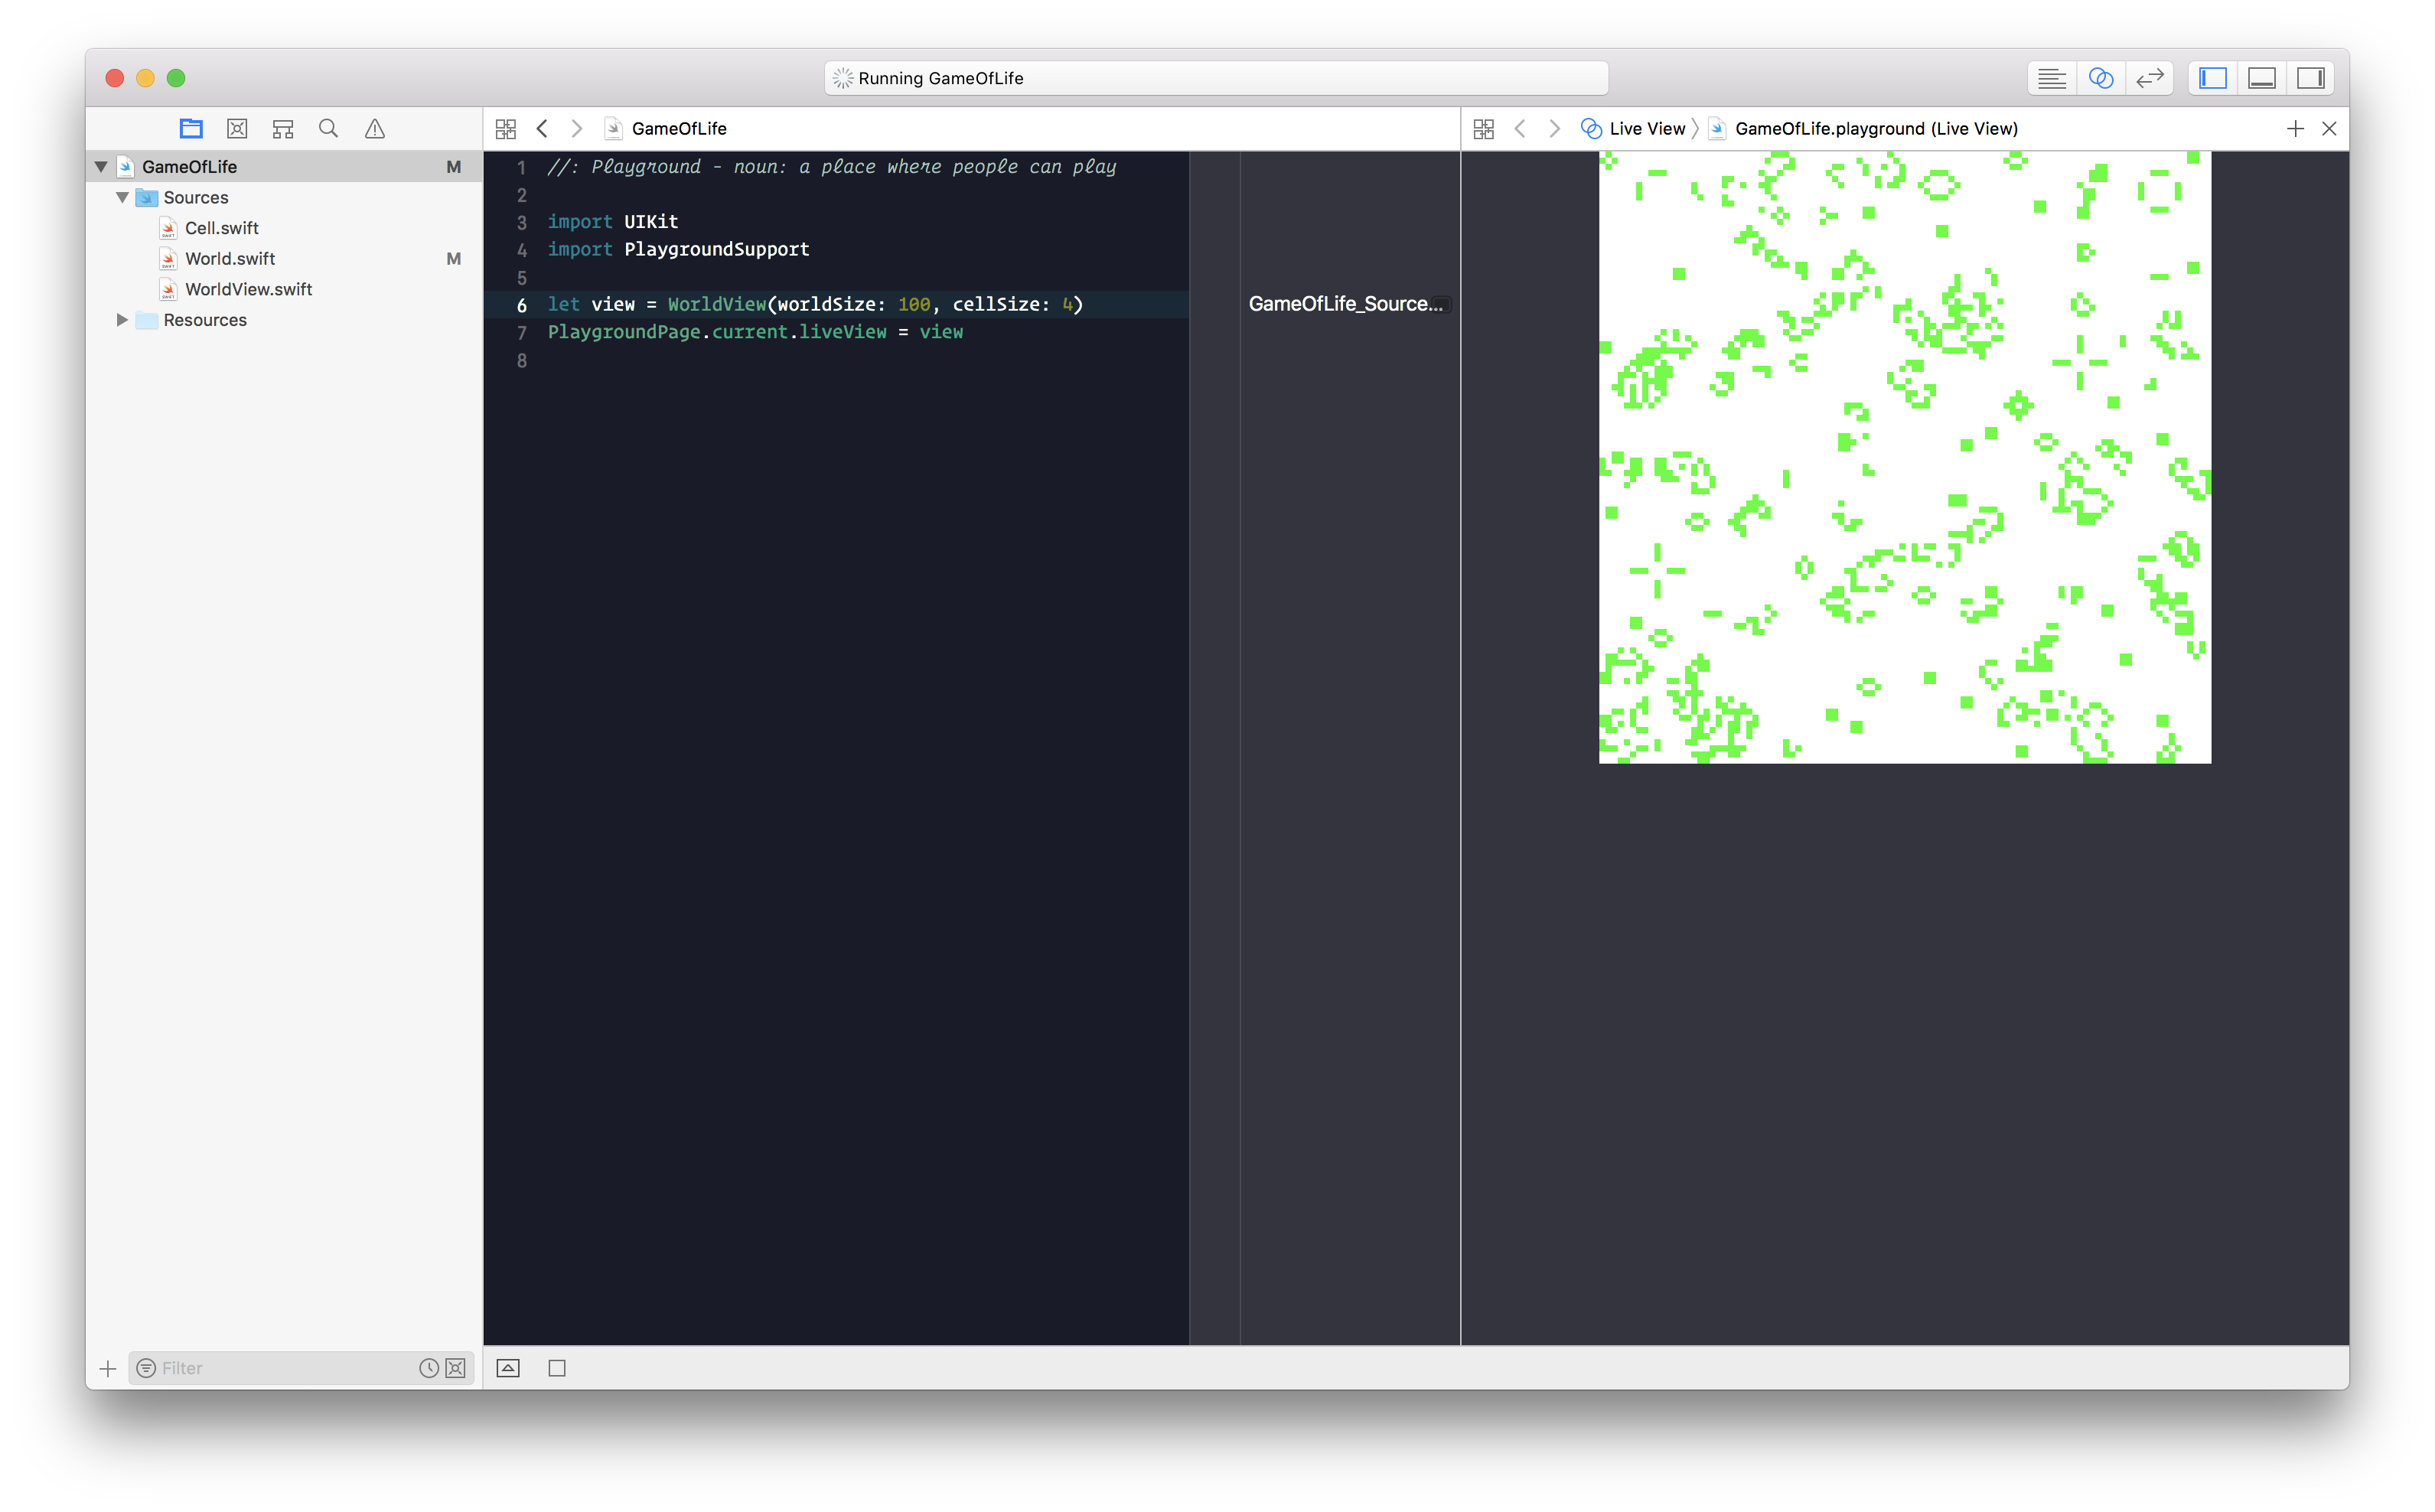
Each time you click on the view, the game steps forward another generation. Over time, the simulation will eventually settle in. You’ll find that some common patterns will emerge over many games. There’s a great list of them on Wikipedia if you’re interested in learning more.
Bonus
Constantly clicking to see results gets boring after a while. So let’s get the game running on its own.
Navigate to your WorldView.swift file and add this function at the bottom of the class:
public func autoRun() {
    DispatchQueue.main.asyncAfter(deadline: .now() + 0.2) {
        self.world.updateCells()
        self.setNeedsDisplay()
        self.autoRun()
    }
}
.now() is the current time, but if we want the code to pause for a moment, we can add some extra time. In this case it’s 0.2 seconds.
Then, go back to your main swift file and call autoRun() on view.
let view = WorldView(worldSize: 100, cellSize: 5)
view.autoRun()
PlaygroundPage.current.liveView = view
The playground will now run forever, or until you end it manually.
You should now have a thorough understanding of how you can start to think about and create cell-based simulations of your own. You’ll find other projects like this, as well as how to use simulations to create procedural art in my book titled “Simulations in Swift”. I’ve also included a “getting started with swift playgrounds” section for people who might be new to the language.